
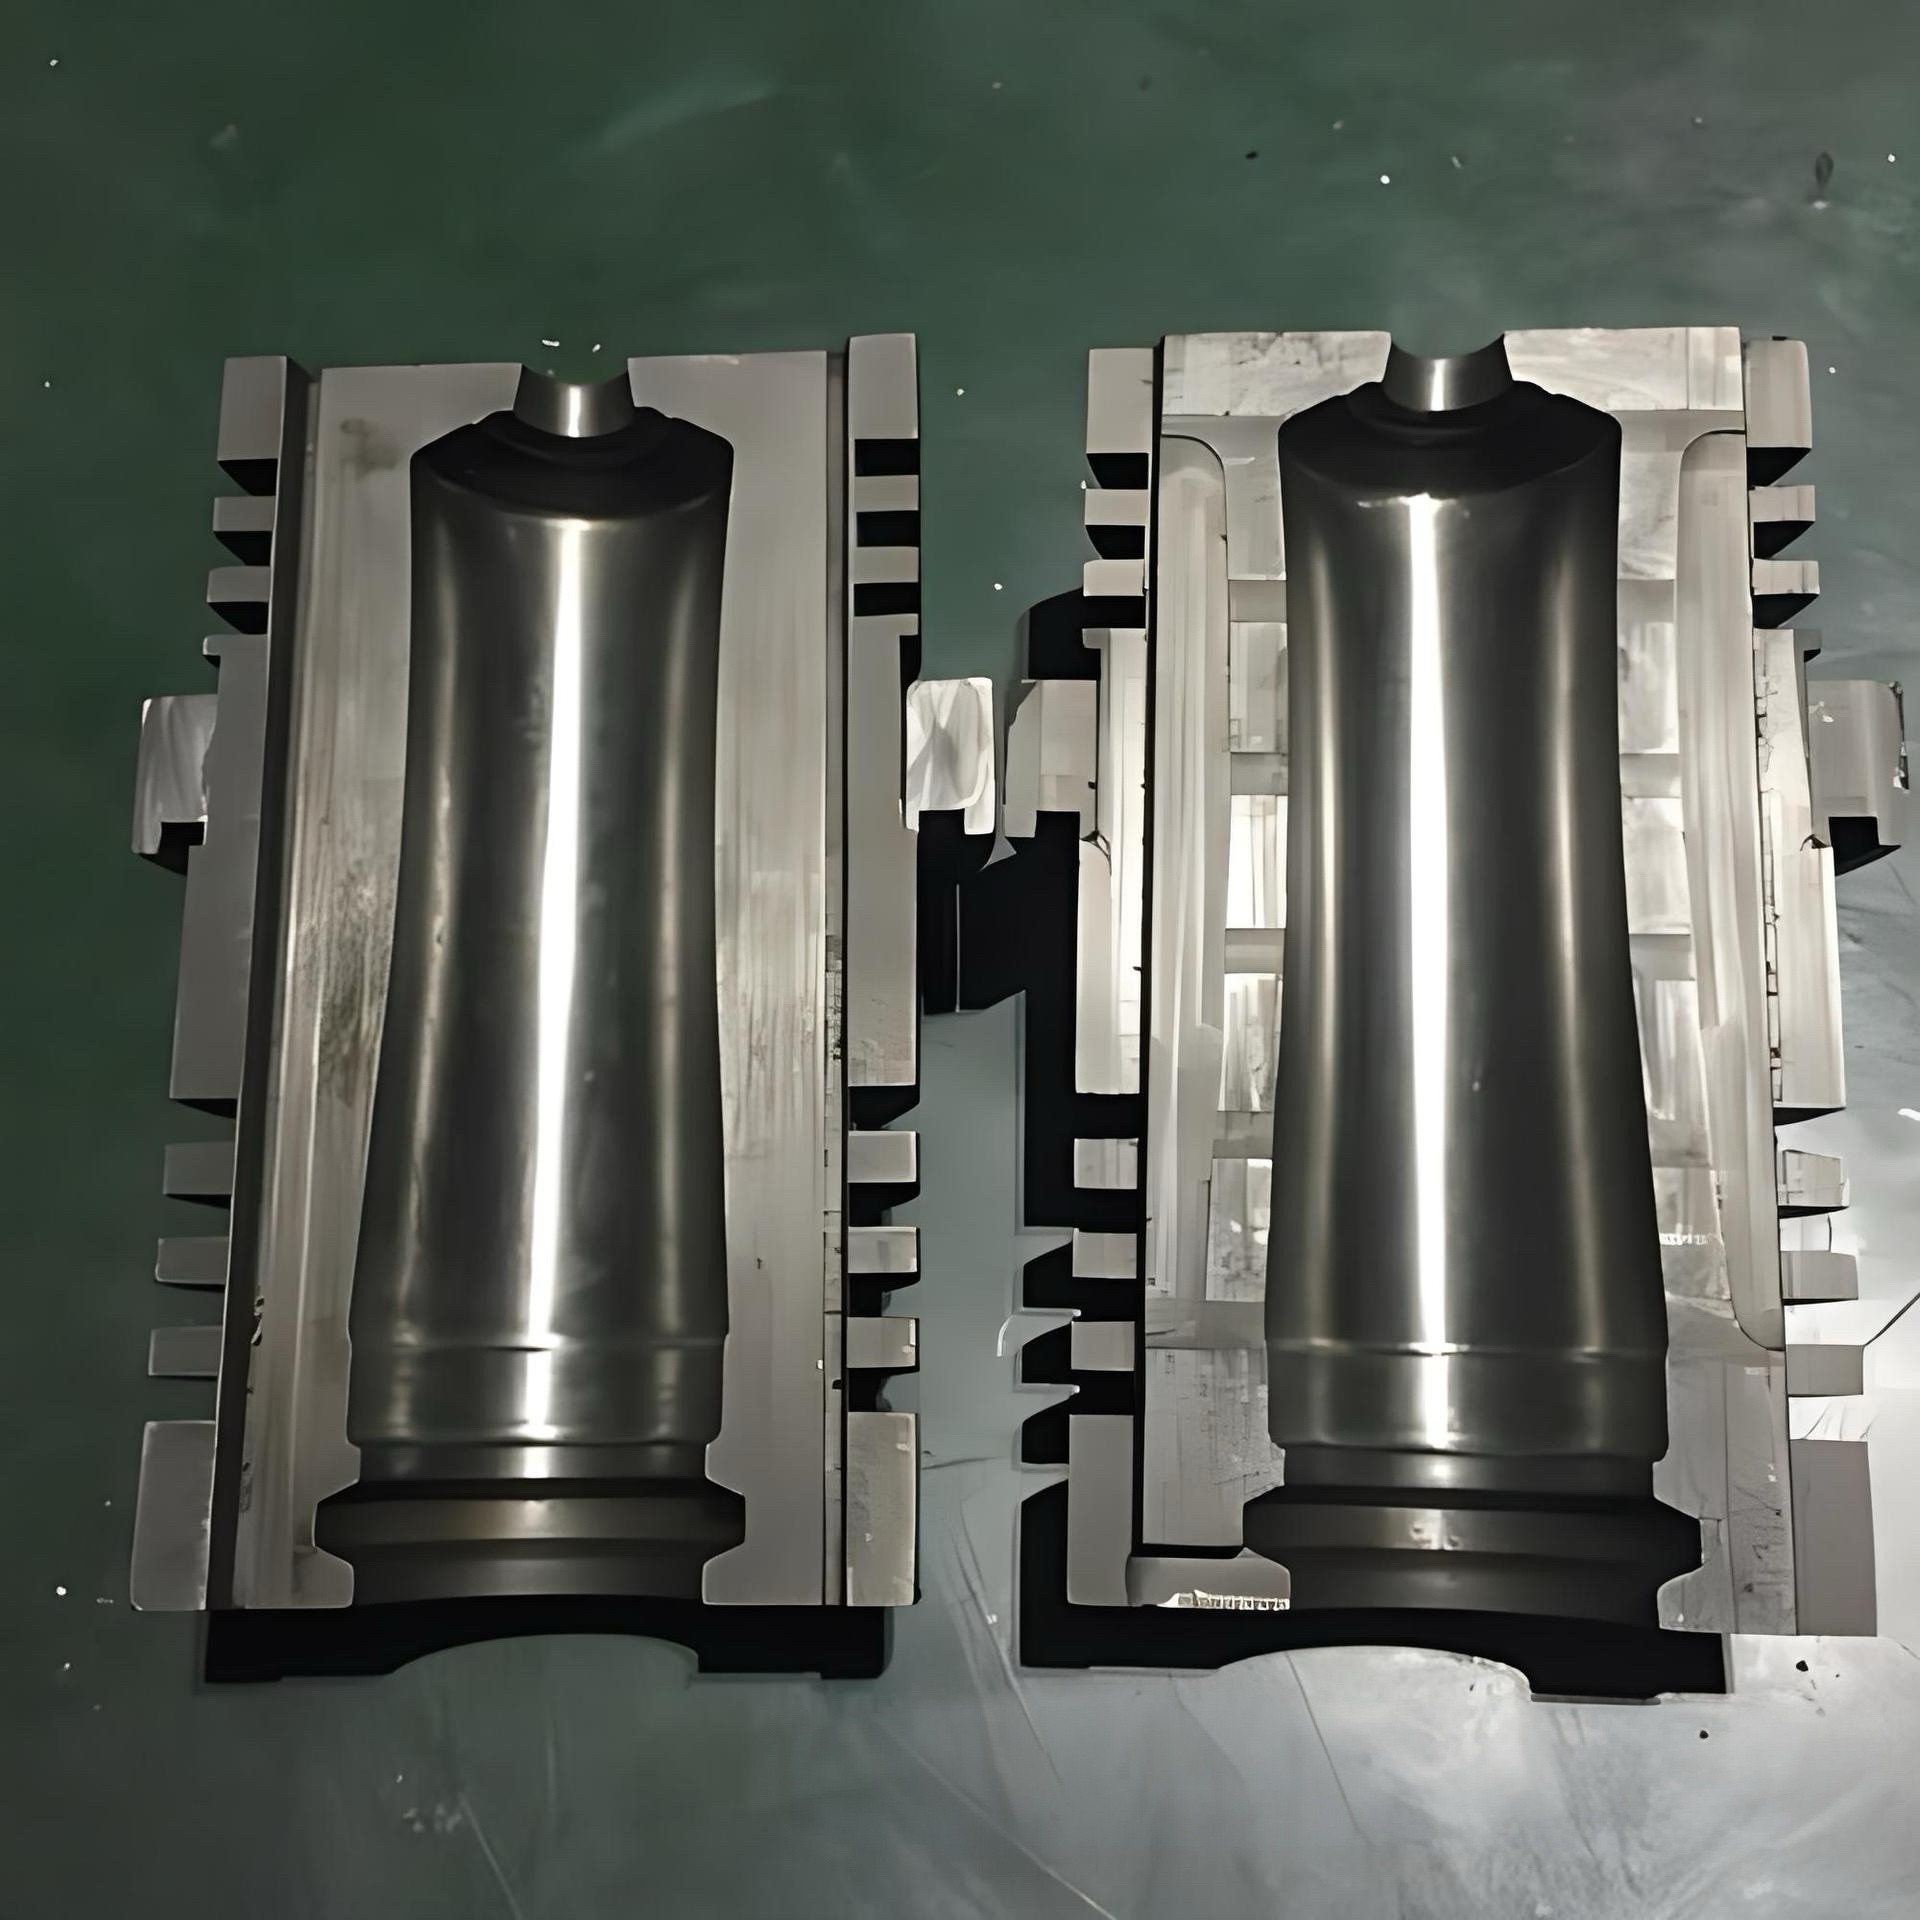
When a brand wants a bottle shape that nobody else has, everything starts with one thing: the mould. A glass bottle mould is a pair of precision-machined cast-iron blocks whose cavity is the exact negative of your bottle – every curve, every embossed logo, every knurling line. In this article we walk you through the complete mould development process in our factory, with real photos and videos from our tooling workshop, so you know exactly what happens after you pay a mould fee.
Step 1: From Idea To Engineering Drawing
Custom mould development starts with your input. Any of these works: a hand sketch, a reference bottle, a 3D file, or just a photo of a shape you like. Our engineers turn it into a 3D model and 2D engineering drawings that define:
- Bottle height, body diameter, base shape and stability (a bottle must stand reliably on the filling line)
- Neck finish – the thread or cork-fit dimensions that must match standard closures
- Glass weight and wall thickness distribution, balanced against capacity
- Embossed logos, engraving lines and knurling positions
At this stage we also confirm the mould type: single cavity for sampling and small batches, or multi-cavity (2/4/6/8 cavities) for volume production.
Step 2: Casting The Mould Blanks
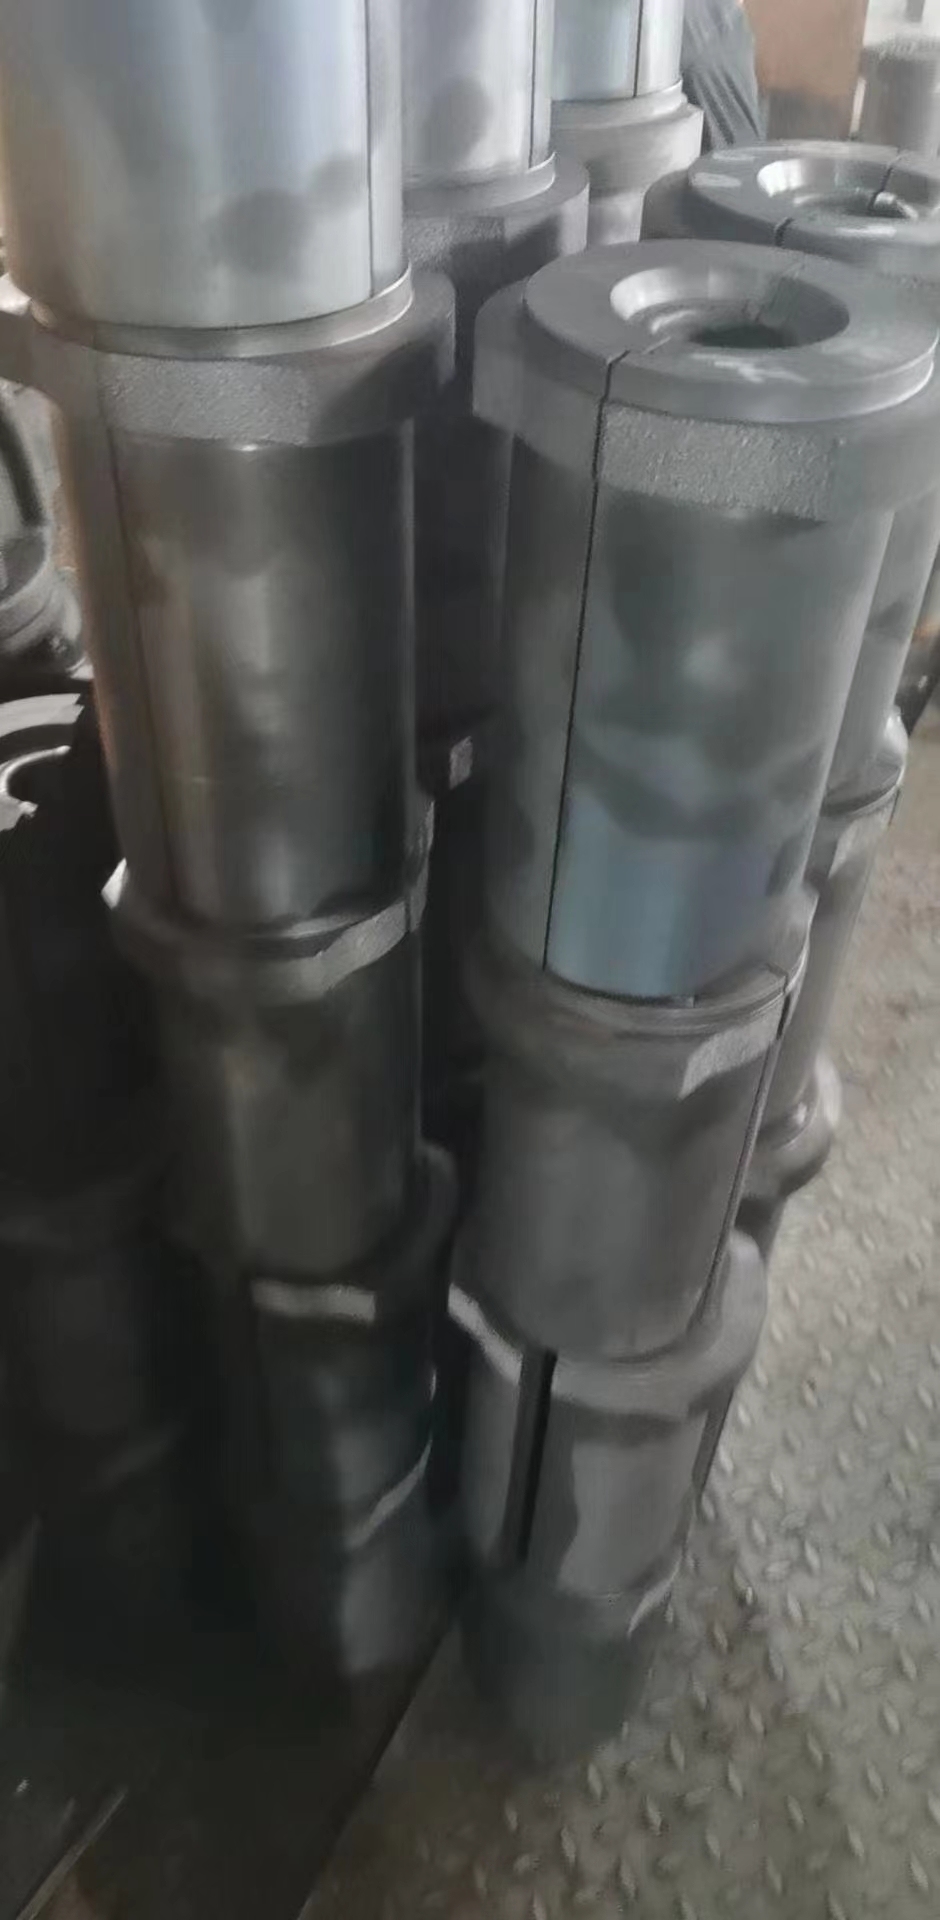
Bottle moulds are made from special cast iron alloys chosen for thermal fatigue resistance – the material must survive hundreds of thousands of heating-cooling cycles at around 1,100 °C glass temperature. The alloy is cast into oversize blanks, one per mould half, then stress-relieved to prevent warping.
Step 3: CNC Machining The Cavity
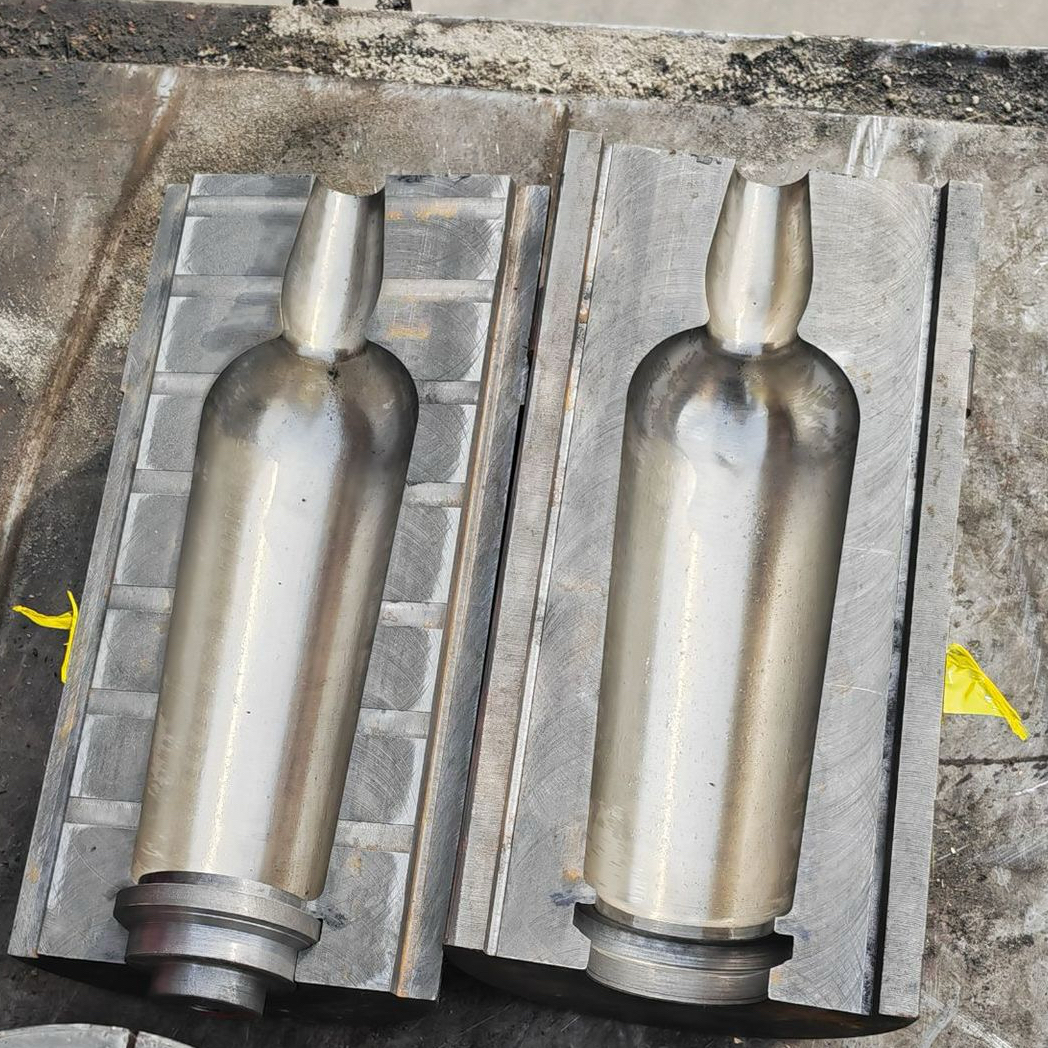
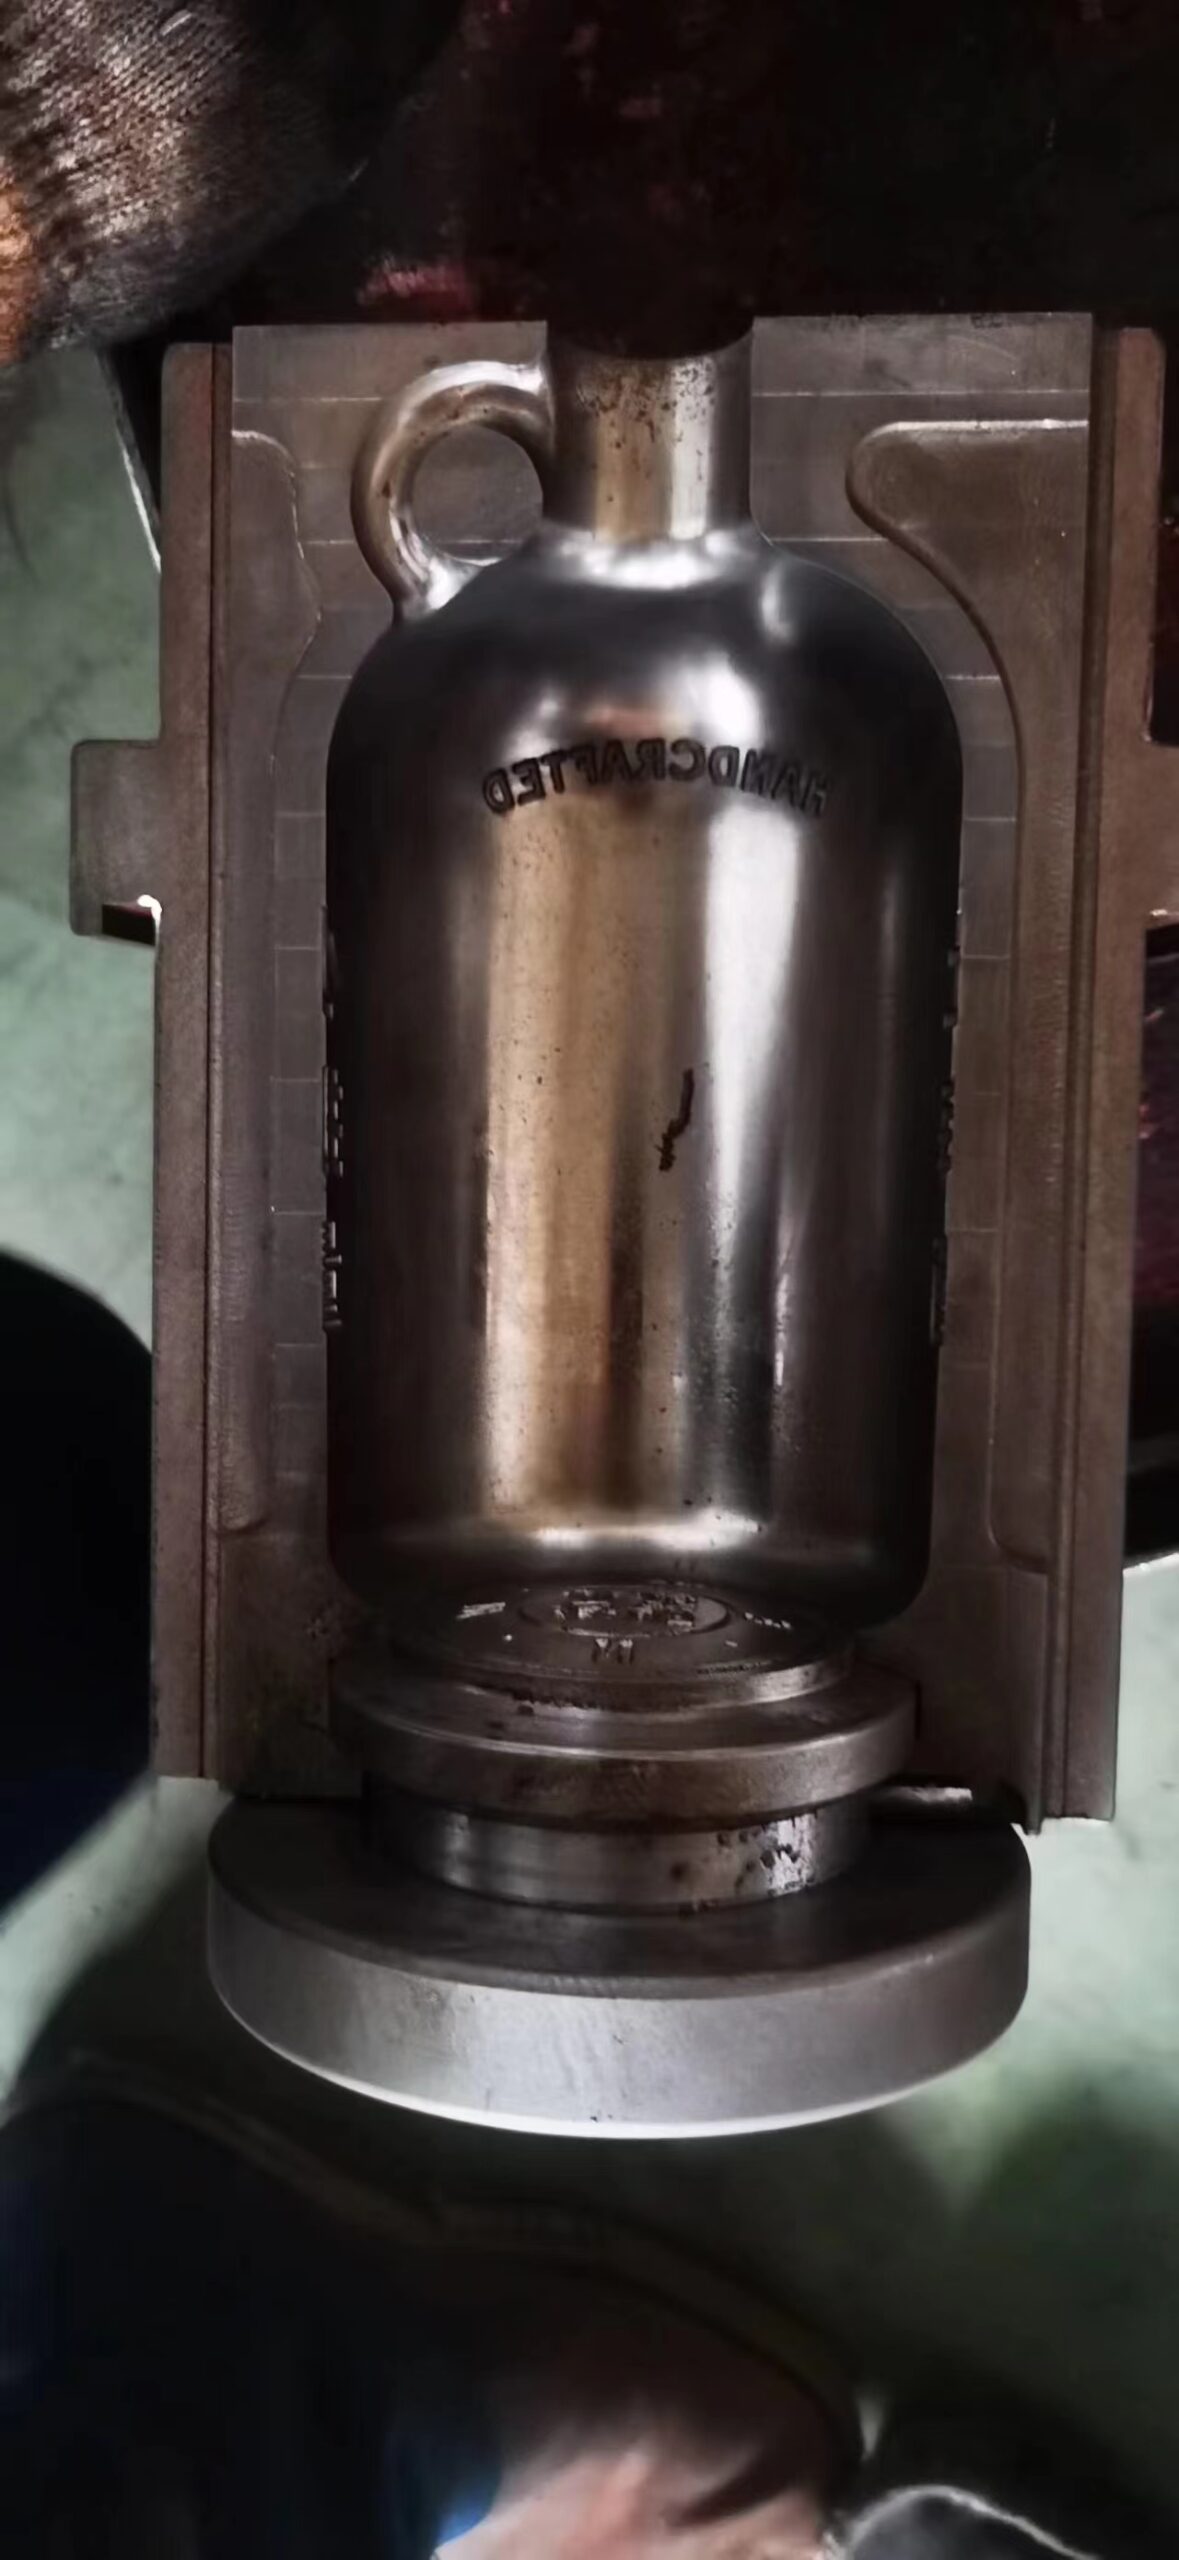
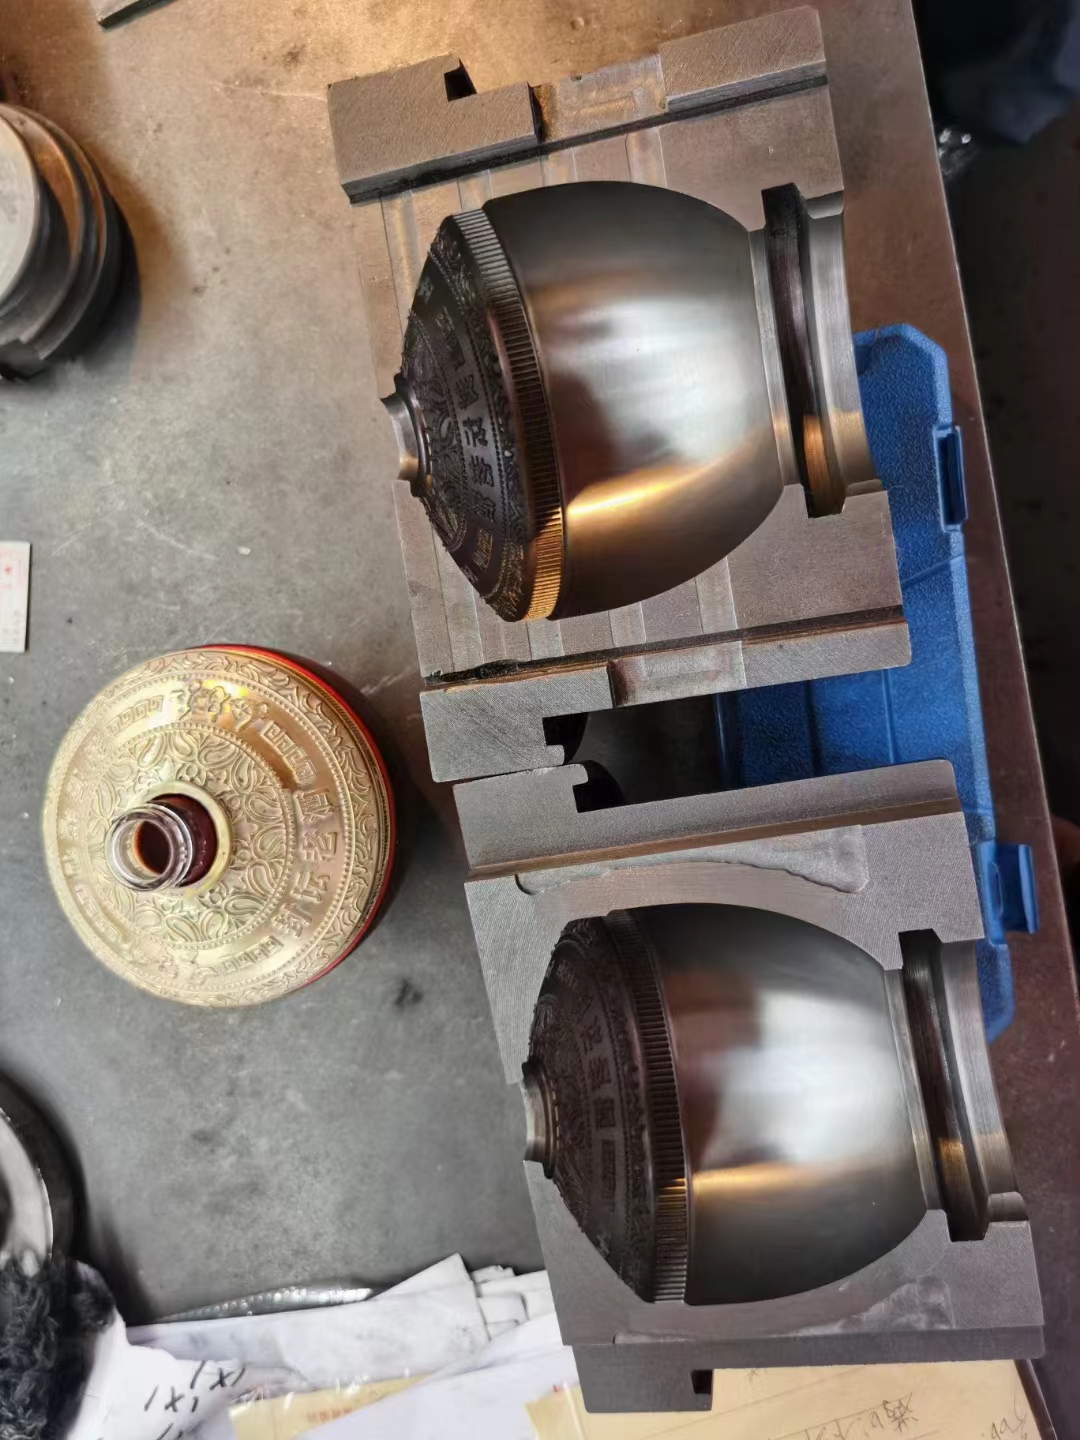
This is where your bottle shape is born. The cast blanks are mounted on CNC milling and turning centres. The cavity is cut according to the 3D model – typically to a tolerance of ±0.05 mm – including the parting surface, venting grooves, embossed text and the bottle neck seat. A single cavity takes several days of machining and hand finishing.
Step 4: Neck Finish And Accessories
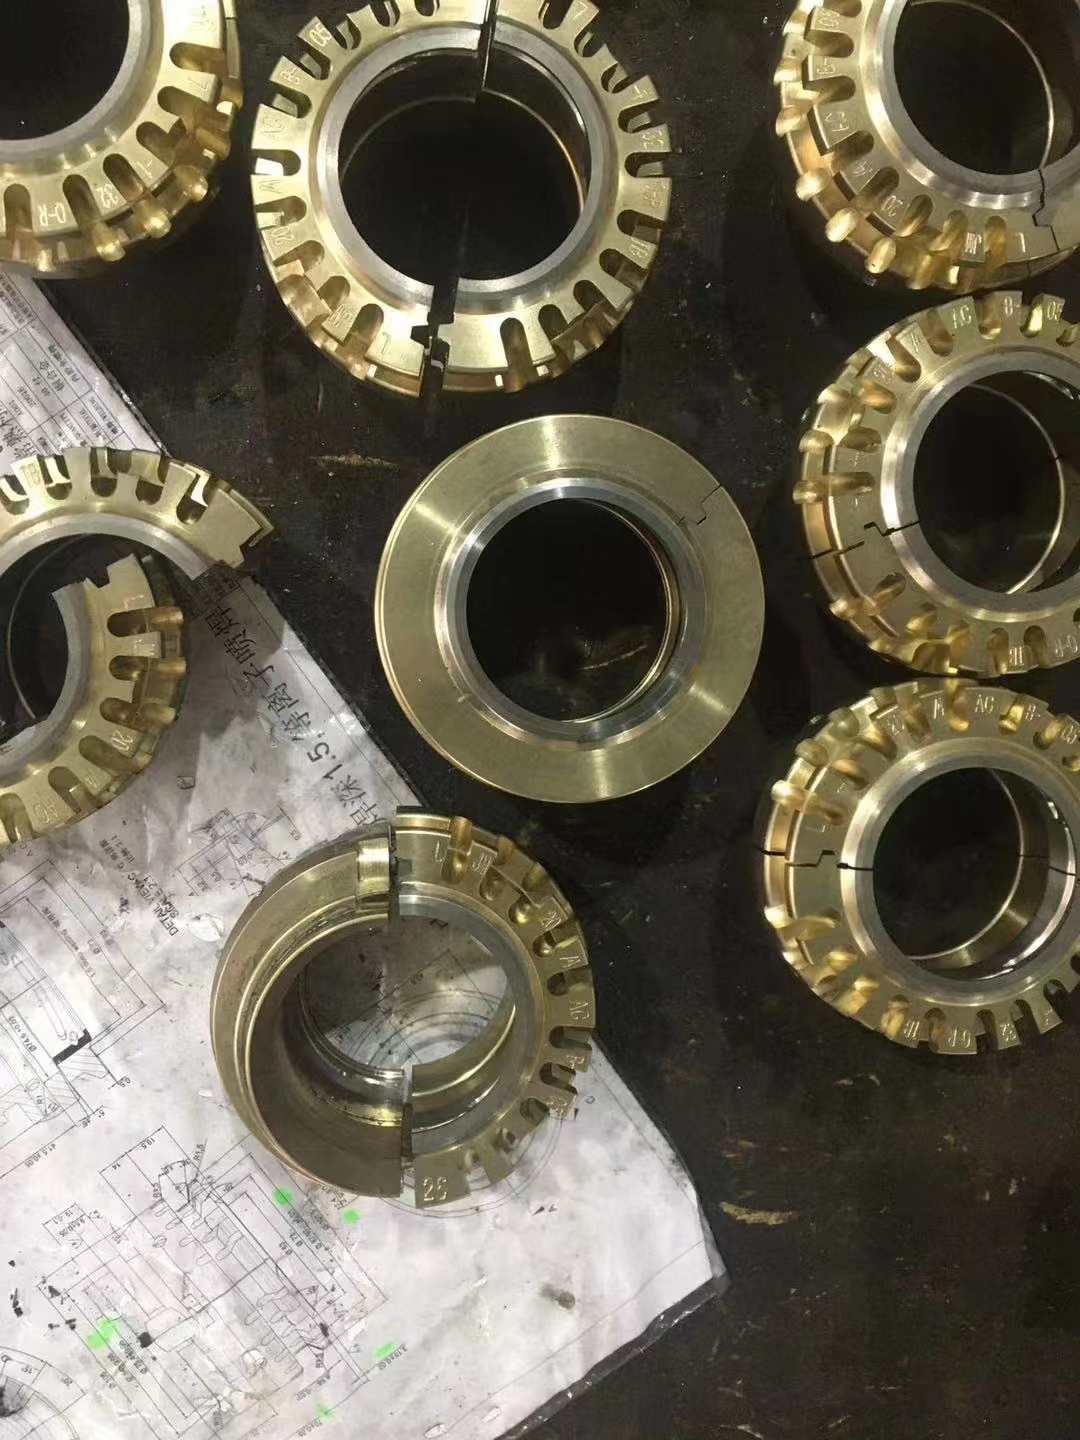
A bottle mould is more than two blocks. The neck finish rings (usually made of bronze for heat resistance) form the thread or cork seat and are machined as separate interchangeable parts – this is what guarantees your cap or cork fits every single bottle. Bottom plates, blow heads and funnels are prepared in the same batch.
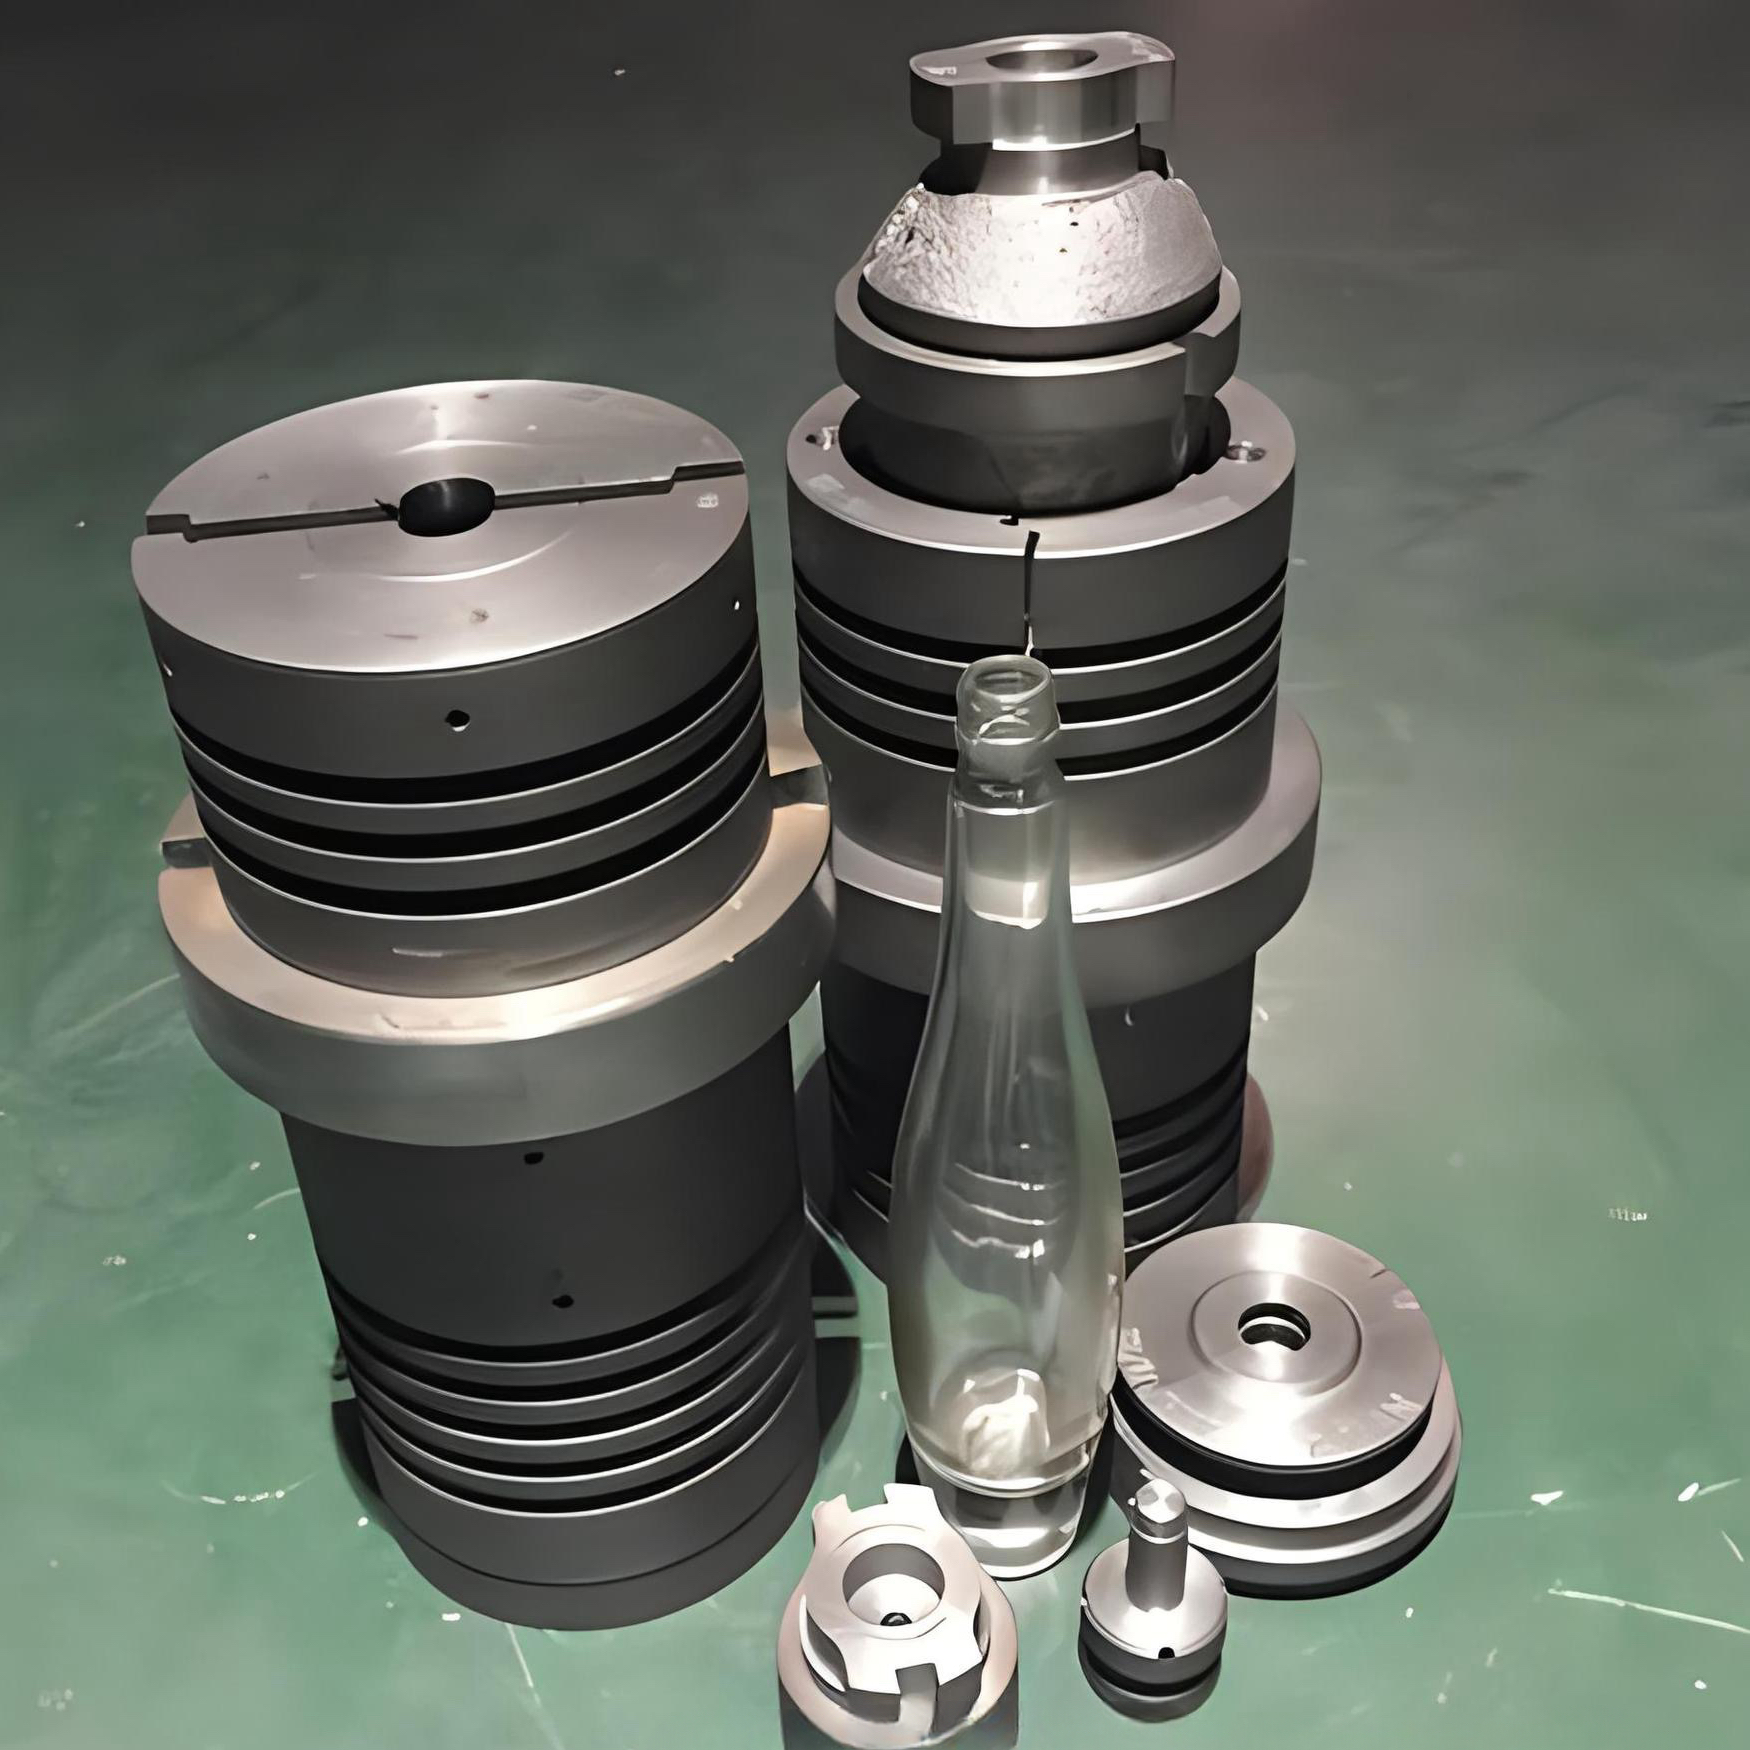
Step 5: Assembly, Polishing And Trial
After machining, the cavity is hand-polished to the required surface finish – from matte to mirror. The mould halves, neck rings and bottom plate are then assembled and mounted on the glass machine for a trial run. The first bottles are measured against the drawing: capacity, height, diameter, weight, verticality and seam quality. Small corrections are made by re-machining or re-polishing until the sample is approved.
How Long Does Mould Development Take?
| Stage | Typical time |
|---|---|
| 3D drawing & confirmation | 1 – 3 days |
| Blank casting | 3 – 5 days (often in stock) |
| CNC machining & polishing | 7 – 10 days |
| Trial run & sample approval | 2 – 3 days |
| Total: drawing to approved sample | About 15 – 20 days |
Frequently Asked Questions
Who owns the mould? You do. Once the mould fee is paid, the mould is reserved exclusively for your orders and never used for other customers.
Can you copy an existing bottle? We can develop a “similar but not identical” shape – exact copies of branded bottles are not allowed for legal reasons.
What is the minimum order after tooling? Usually one full container, which is why we always recommend checking our existing catalogue first – with over 1,000 open moulds, there is a good chance a matching shape already exists and you pay no mould fee at all.
Have A Shape In Mind?
Send us a sketch, a photo or a sample bottle. Our engineers will evaluate it, quote the mould fee and delivery time, and – if an existing mould fits – show you how to get your custom-branded bottle without any tooling cost.
